Quick start
Connect2id server system requirements
| 2+ GBytes of system RAM | |
| Java 7+ The Connect2id server is developed and tested with Oracle's JDK. This is the recommended Java implementation. | |
| LDAP directory server. A ready LDAP server (Connect2id build of OpenDJ) is included in the download package. Any other LDAP v3 compatible server, such as OpenLDAP, works too. | |
| Java Servlet 3.0 Container. An Apache Tomcat web server is included in the download package. Other servlet v3.0+ containers are also supported. |
Setup
Step 1.
Unzip the downloaded Connect2id server package in a suitable folder on your computer.
Step 2.
Start the provided OpenDJ LDAP directory server. It is used to store client app registrations and the long-lived authorisations. The LDAP directory also includes an example user and group base. You can explore it using an LDAP browser, such as Apache Directory Studio.
To start the LDAP server:
connect2id-server-[version]/opendj/bin/start-ds
The directory server is configured to listen for LDAP connections on port 1389. It can also accept StartTLS on the same port or SSL on port 1686 (using a self-signed certificate).
The admin credentials for the LDAP server are:
- DN:
cn=Directory Manager - Password:
secret
Step 3.
Start the provided Apache Tomcat web server, which has preinstalled and configured instances of the Connect2id server, the Connect2id login page (built with JavaScript), the LdapAuth web service for authenticating users against an LDAP directory, and a sample OpenID Connect client.
To start Apache Tomcat:
connect2id-server-[version]/tomcat/bin/startup.sh
*Are you experiencing a slow startup? The server needs to collect entropy for the secure random number generator, and this may take a while :-) *
To access the Tomcat management panel go to
and enter the following admin credentials:
- Username:
admin - Password:
secret
Step 4.
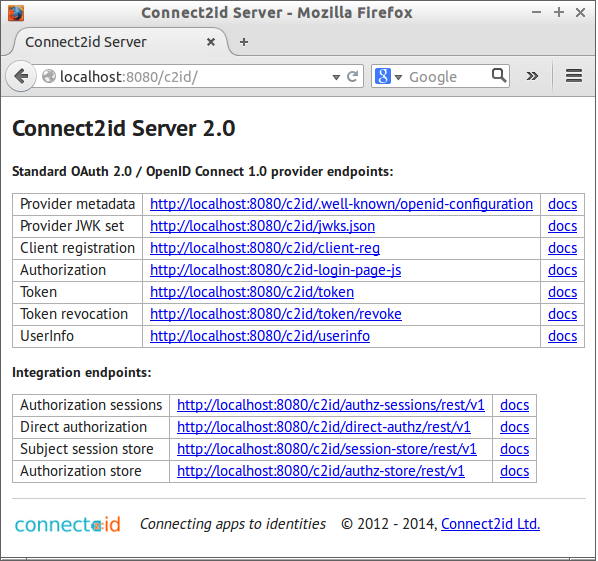
Point your favourite browser to the base URL of the Connect2id server:
You should then see a banner page, listing the standard OAuth 2.0 / OpenID Connect endpoints provided by the server. There’s also a list of the special web interfaces for plugging in various server components and management tools.

Step 5.
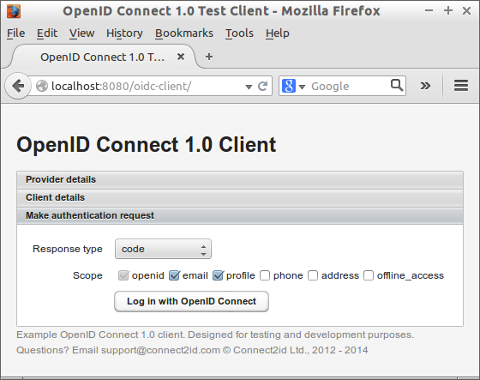
Point your favourite web browser to the URL of the example OpenID Connect to test authentication and UserInfo retrieval with the Connect2id server:
http://127.0.0.1:8080/oidc-client

Further pointers
Questions or comments?
Get in touch with Connect2id support.